How to Download and Install Python?
To understand how to install Python, it's important to know what
Python
is and where it's installed on your system. Here are some key points:
- Python is a widely used, high-level programming language.
- Every release of Python is open-source and GPL-compatible.
- You can download any version of Python from the Python Software Foundation website at python.org.
- Many operating systems, like Linux, provide a package manager for easy Python installation.
- This tutorial covers how to install Python on Windows, Linux and Mac OS.
We also offer a complete Python 3 Tutorial for learners at all levels. This
tutorial starts with the
basics of Python 3
and progresses to more advanced topics.
How to Install Python on Windows 10
Windows doesn't have Python already installed, so you have to install it
yourself. Here's a step-by-step guide on how to install Python on Windows.
Just follow these steps:
Steps to Download Python on Windows 10
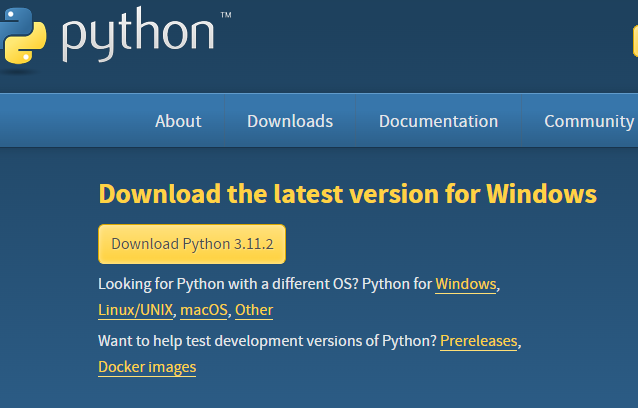
Step 1: Open your web browser and go to
https://www.python.org/downloads/windows/
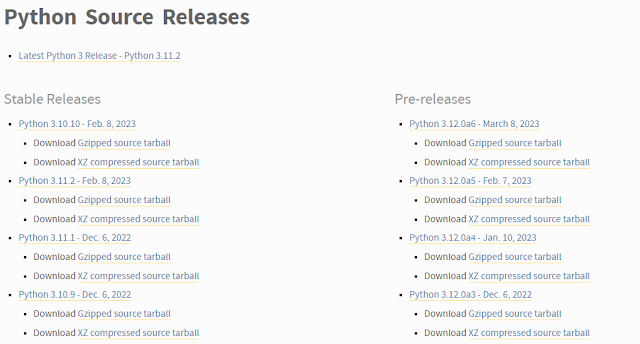
Step 2: Look for the Latest Python 3 Release – Python 3.11.2 under the
Python Releases for Windows section.
Step 3: Scroll down to the Files section on that page and click on either "Windows x86-64 executable installer" for 64-bit or "Windows x86 executable installer" for 32-bit.
Here's how to install Python 3.11.2 on Windows:
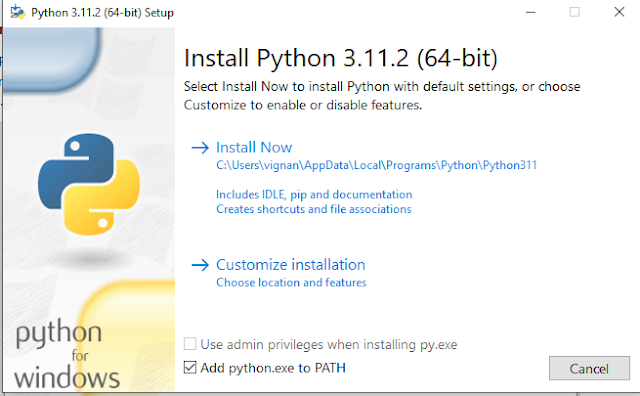
1. Run the Python Installer that you downloaded from the Windows downloads
folder.
2. Make sure to check the box that says "Add Python 3.11 to PATH" before
proceeding with the installation. This step is important for easily running
Python commands from the command prompt.
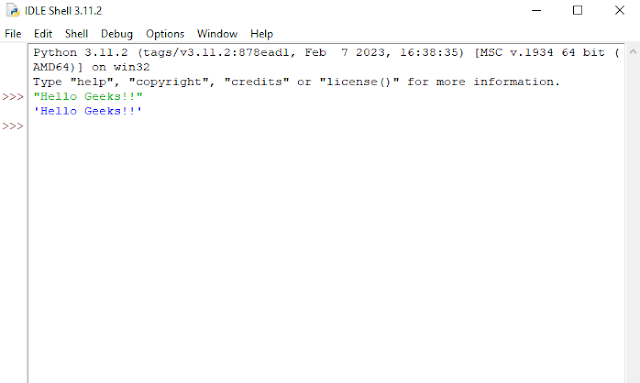
After the installation is complete, click on "Close." Python is now installed on your system. To verify, go to the Windows search bar and type "IDLE."
The Python Interpreter, also known as the Python Shell, will open. You can type commands directly into this shell. Try typing print("Hello, geeks!!") and press Enter. You'll see the output displayed below. The `>>>` signs indicate the Python command prompt, where you can write your Python code. When you press Enter, Python processes your code and provides the result instantly.
How to Install Python on Linux
Installing Python on Linux is usually straightforward because most Linux
distributions come with Python pre-installed. Here's how to check if Python
is installed on your Linux system:
1. Open the terminal using Ctrl+Alt+T.
2. Enter the following command to check the Python version:
python --version
This command will display the version of Python 2.x.x installed, if any.
3. To check the latest version of Python 3.x.x, use the command:
python3 --version
This command will display the version of Python 3.x.x installed, if any.
If Python isn't the latest version on your Linux system, you can often
install a newer version using the following commands. These commands are
typically applicable to many Linux distributions:
1. Add the deadsnakes PPA (Personal Package Archive), which contains newer
versions of Python:
sudo add-apt-repository ppa:deadsnakes/ppa
2. Update your package list to include the latest available versions:
sudo apt-get update
3. Install Python 3.11.2 (or the version you need) using the package
manager. For example, on Ubuntu:
sudo apt-get install python3.11.2
These commands will add the deadsnakes PPA, update your package list, and
then install the specified version of Python.
Download and Install Python’s Latest Version on Linux
To install the latest version of Python from the source code, follow these
steps:
1. Download the latest version of Python from python.org by opening your
browser and going to
https://www.python.org/downloads/source/.
2. On the Python source download page, scroll down to find the latest
version of Python. Click on the link to download the source code (a .tar.xz
file).
3. Once the download is complete, navigate to the directory where the file
was downloaded.
4. Extract the contents of the downloaded file. You can use the following
command in the terminal:
tar -xf Python-3.11.2.tar.xz5. Navigate into the extracted directory:
cd Python-3.11.26. Configure the Python build:
./configure --enable-optimizations7. Build and install Python:
makesudo make install8. Verify the installation by checking the Python version:
python3 --version
This process will download, build, and install the latest version of Python
from the source code.
Install Homebrew Package Manager on MacOS
If you don’t have Homebrew installed on your macOS system, follow these
steps:
1. Open the Terminal application. You can find it in Applications ->
Utilities.
2. Once the terminal is open, you can enter commands. Copy and paste the
following command into the terminal:
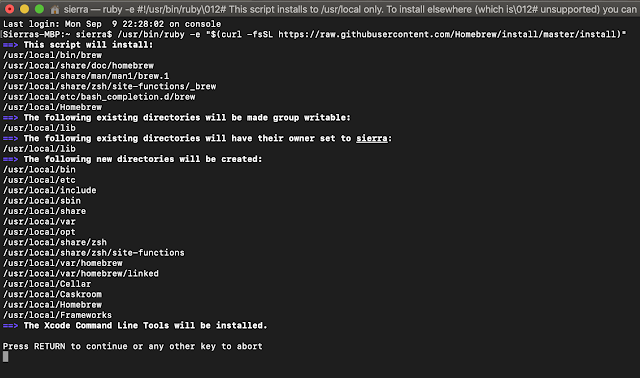
/bin/bash -c "$(curl -fsSL https://raw.githubusercontent.com/Homebrew/install/HEAD/install.sh)"
3. Press Enter. This command will download and run the Homebrew installation
script.
After Homebrew is installed, you can use it to easily install Python or
other software packages on your macOS system.
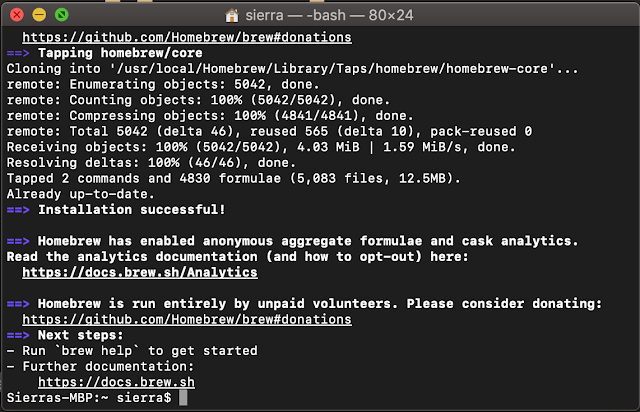
If prompted, enter your system password and press Enter. This step is necessary for installing Homebrew. Once the installation is complete, you will see a message indicating that the installation was successful. At this point, you can proceed to install Python version 3 on your macOS using Homebrew.
To install Python on your macOS using Homebrew, follow these steps:
1. Open the Terminal application from Applications -> Utilities.
2. Enter the following command to install Python 3:
brew install python3
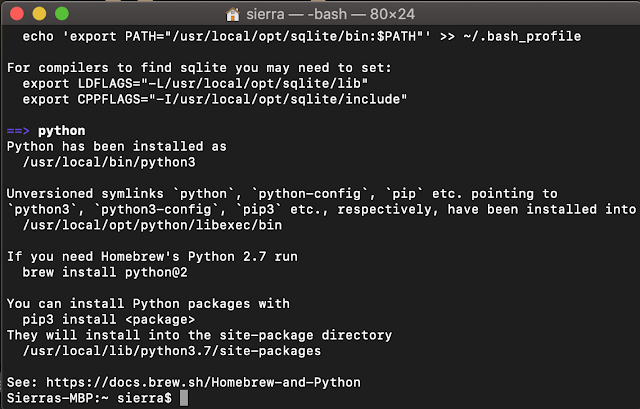
3. Press Enter. Homebrew will download and install Python 3 on your Mac.
4. Once the command processing is complete, Python 3 will be installed on
your Mac.
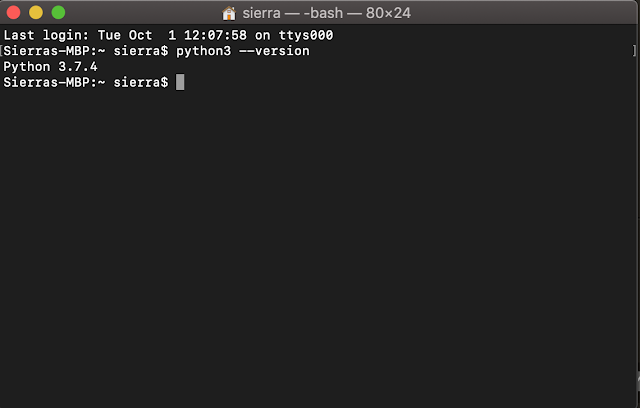
You can verify the installation by typing `python3 --version` in the
terminal.
Congratulations! Python is now installed on your computer. You can explore
more about
Python
and start using it for your programming needs.
