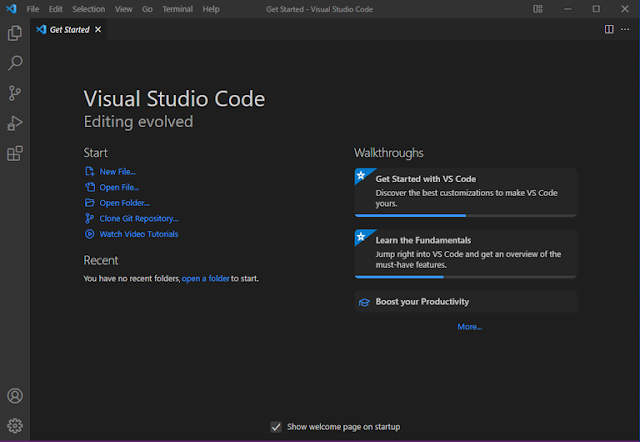
Visual Studio Code (VScode) is a highly popular code editor and integrated development environment (IDE) offered by Microsoft, used for writing various programs and languages. It enables users to create new code bases for their applications and effectively optimize them.
Due to its widespread popularity, many individuals choose to install Visual Studio Code (VScode) on Windows over other IDEs. Installing Visual Studio Code (VScode) on Windows is a straightforward process. The installation process begins with downloading the Visual Studio Code EXE file and following some on-screen instructions.
In this article, we will outline all the steps needed to install VS Code on Windows in a detailed manner.
Quick Overview to Install Visual Studio Code on Windows:
1. Download the VS Code installer from the Official Website.
2. Run the downloaded file.
3. Accept the Terms & Conditions.
4. Click Install.
5. Wait for the installation to finish.
6. Click Launch to start Visual Studio Code.
Quick Highlights of Visual Studio Code on Windows:
- User-friendly code editor supported on all major operating systems.
- Support for various programming languages like C, C++, Java, Python, JavaScript, React, Node.js, and more.
- Popular choice among developers in India.
- Extensible with a wide range of in-app installed extensions.
- Enhanced coding experience with the help of these extensions.
- Vibrant software UI with impressive night mode features.
- Auto-complete code suggestions for easier coding.
Steps to Install Visual Studio Code on Windows
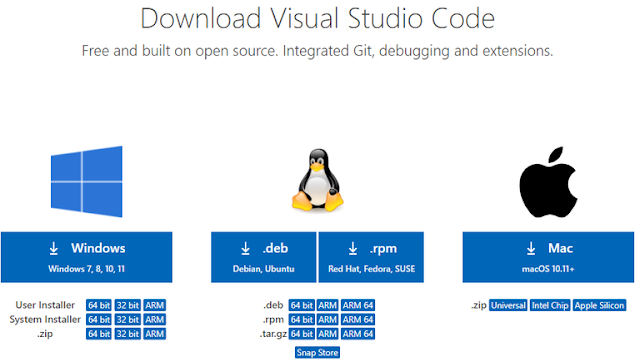
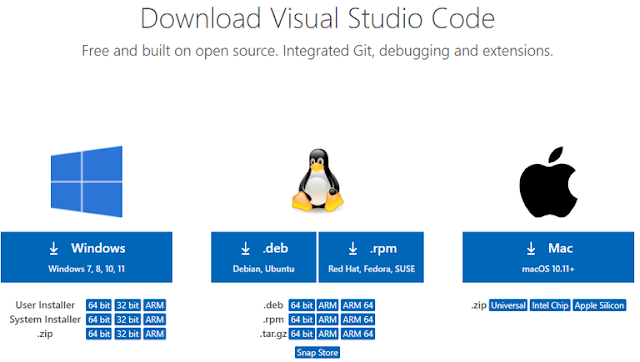
Step 1: Open your web browser (e.g., Google Chrome, Microsoft Edge) and navigate to the Official Website of Visual Studio Code.
Step 2: Click on the "Download for Windows" button on the website to begin downloading the Visual Studio Code application.
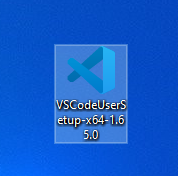
Step 3: Once the download is complete, the Visual Studio Code icon will appear in your downloads folder.
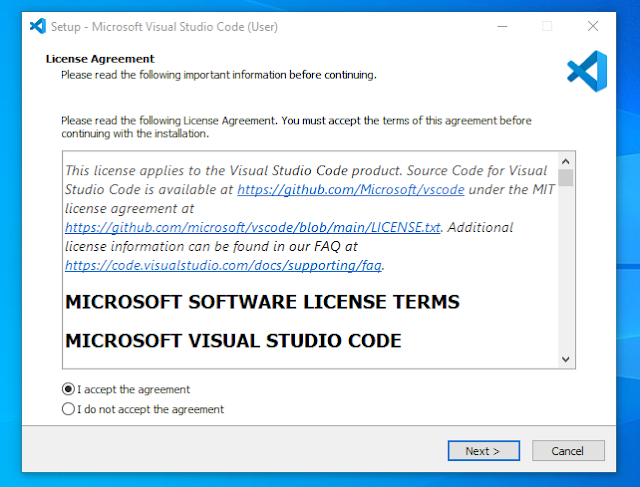
Step 5: Once the installer opens, you will be prompted to accept the terms and conditions of Visual Studio Code. Click on "I accept the agreement" and then click the Next button.
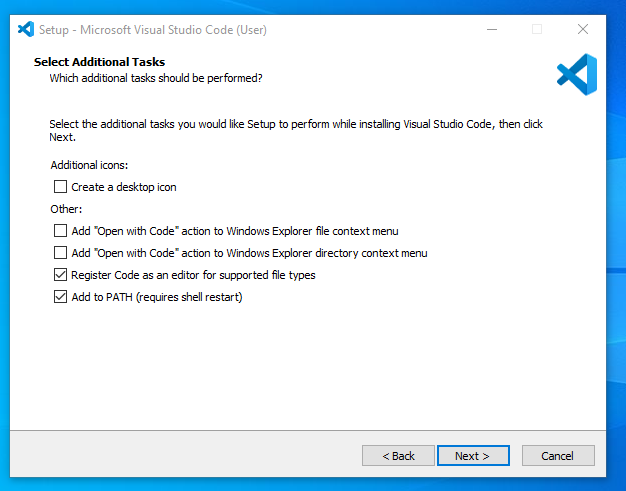
Step 6: Select the installation location for Visual Studio Code. You can browse to choose a specific location or leave it as the default. Click on the Next button to proceed.
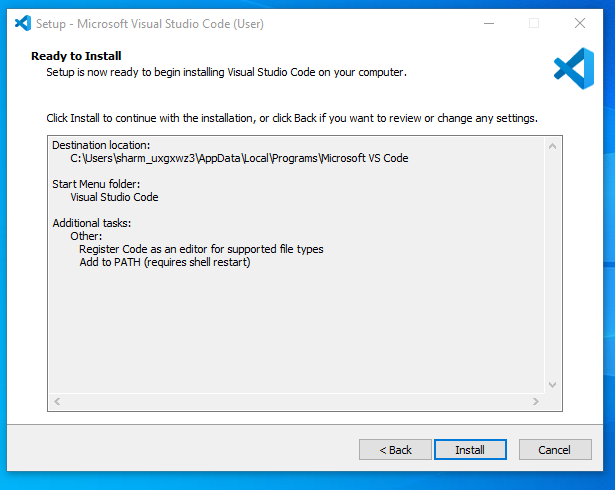
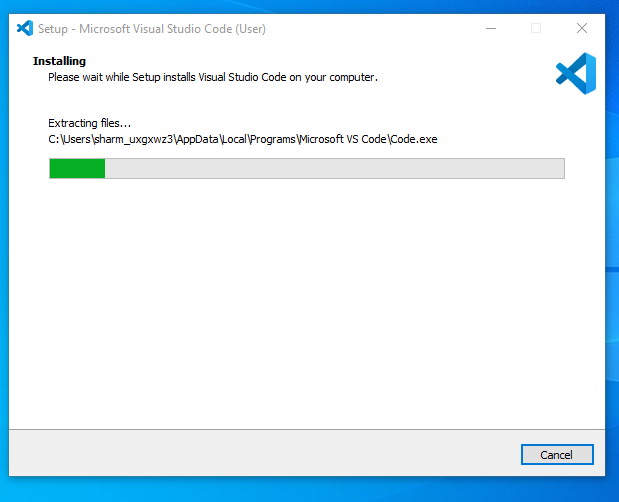
Step 8: After clicking on Install, it will take approximately 1 minute to install Visual Studio Code on your device.
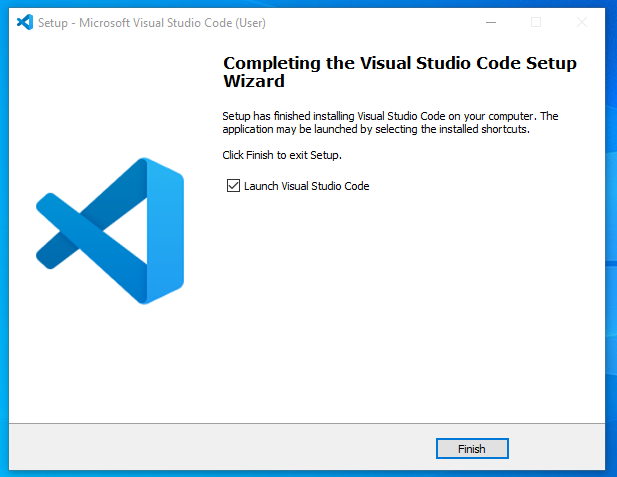
Step 9: Once the installation setup for Visual Studio Code is complete, a window similar to the one below will appear. Check the "Launch Visual Studio Code" checkbox and then click Next.
Step 10: After completing the previous step, the Visual Studio Code window will open successfully. You can now create a new file in the Visual Studio Code window and choose a language to begin your programming journey!

